Thursday 31 May 2012

Underskirt Part 1

I ordered a cheap underskirt from ebay and regretted it - the main fabric was a horrendous crinkly polyester that could have been used as umbrella fabric! So I unpicked all the netting and took out the hoops. Next I took about 4 metres of lining fabric and pinned one edge around the footprint of the dress. I then took the fabric up and pinned seams all around.

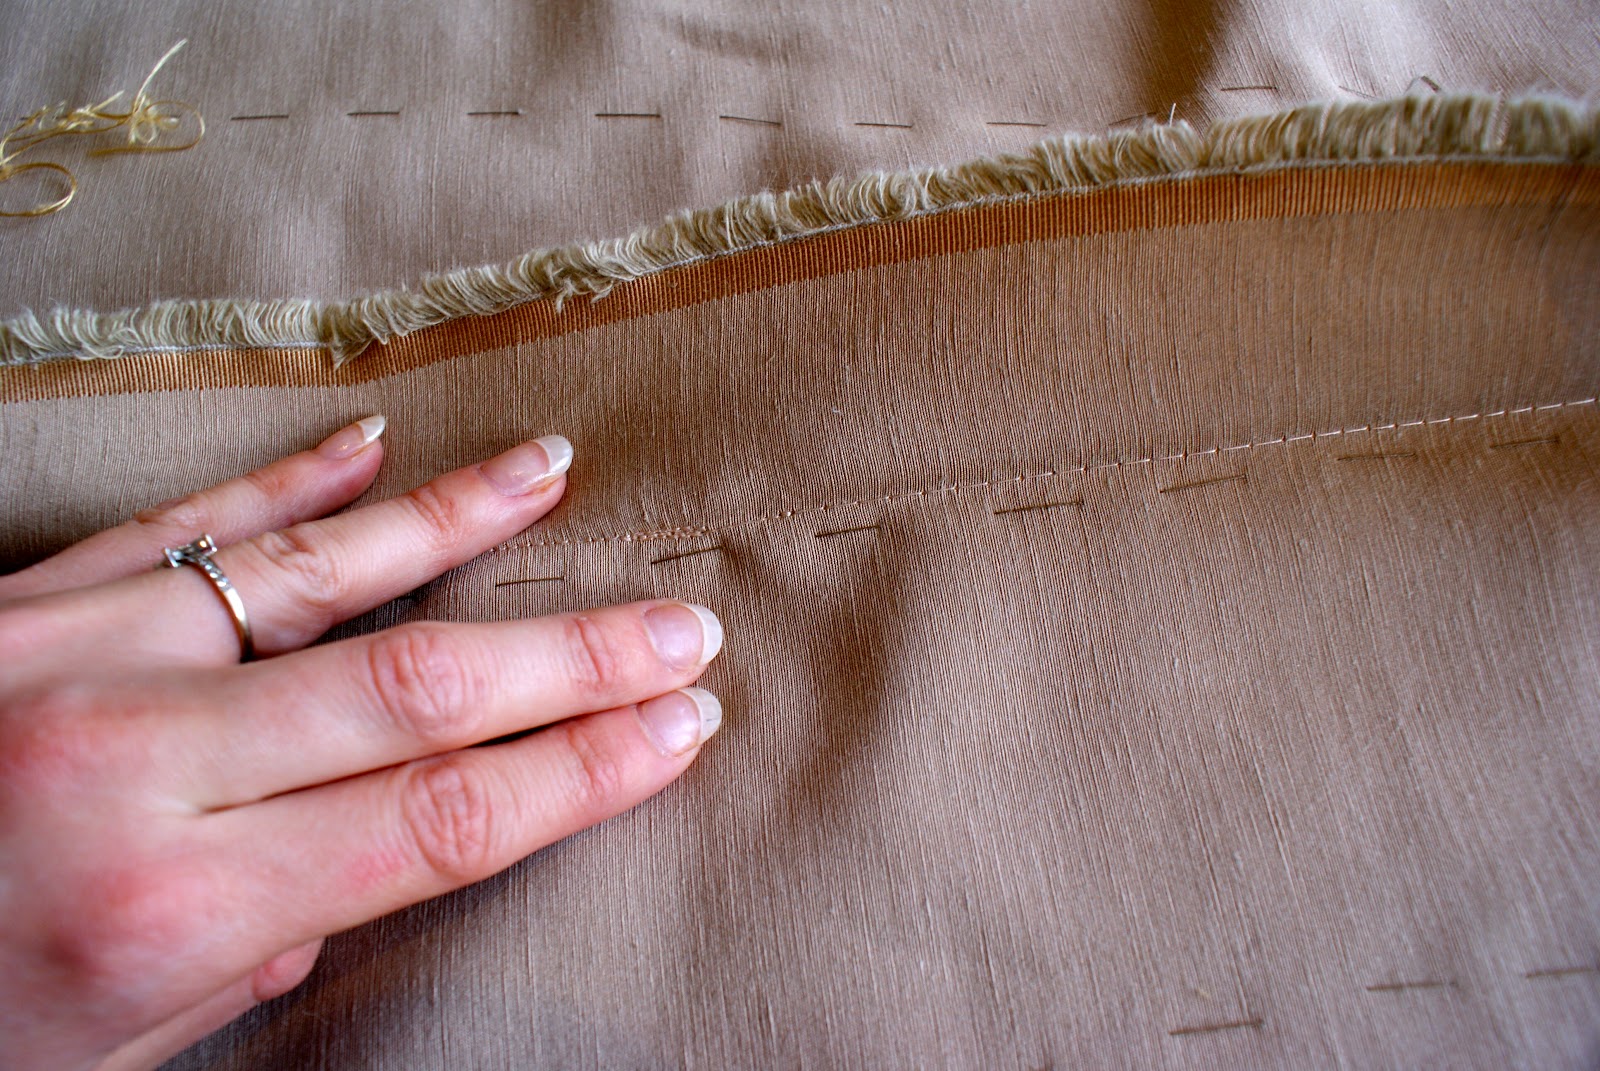
I trimmed and pinned. The fabric is very smooth and silky so some of the pins kept falling out. If this wasn't underwear I think it would be worth tacking these seams together. Time consuming but it would be worth it.

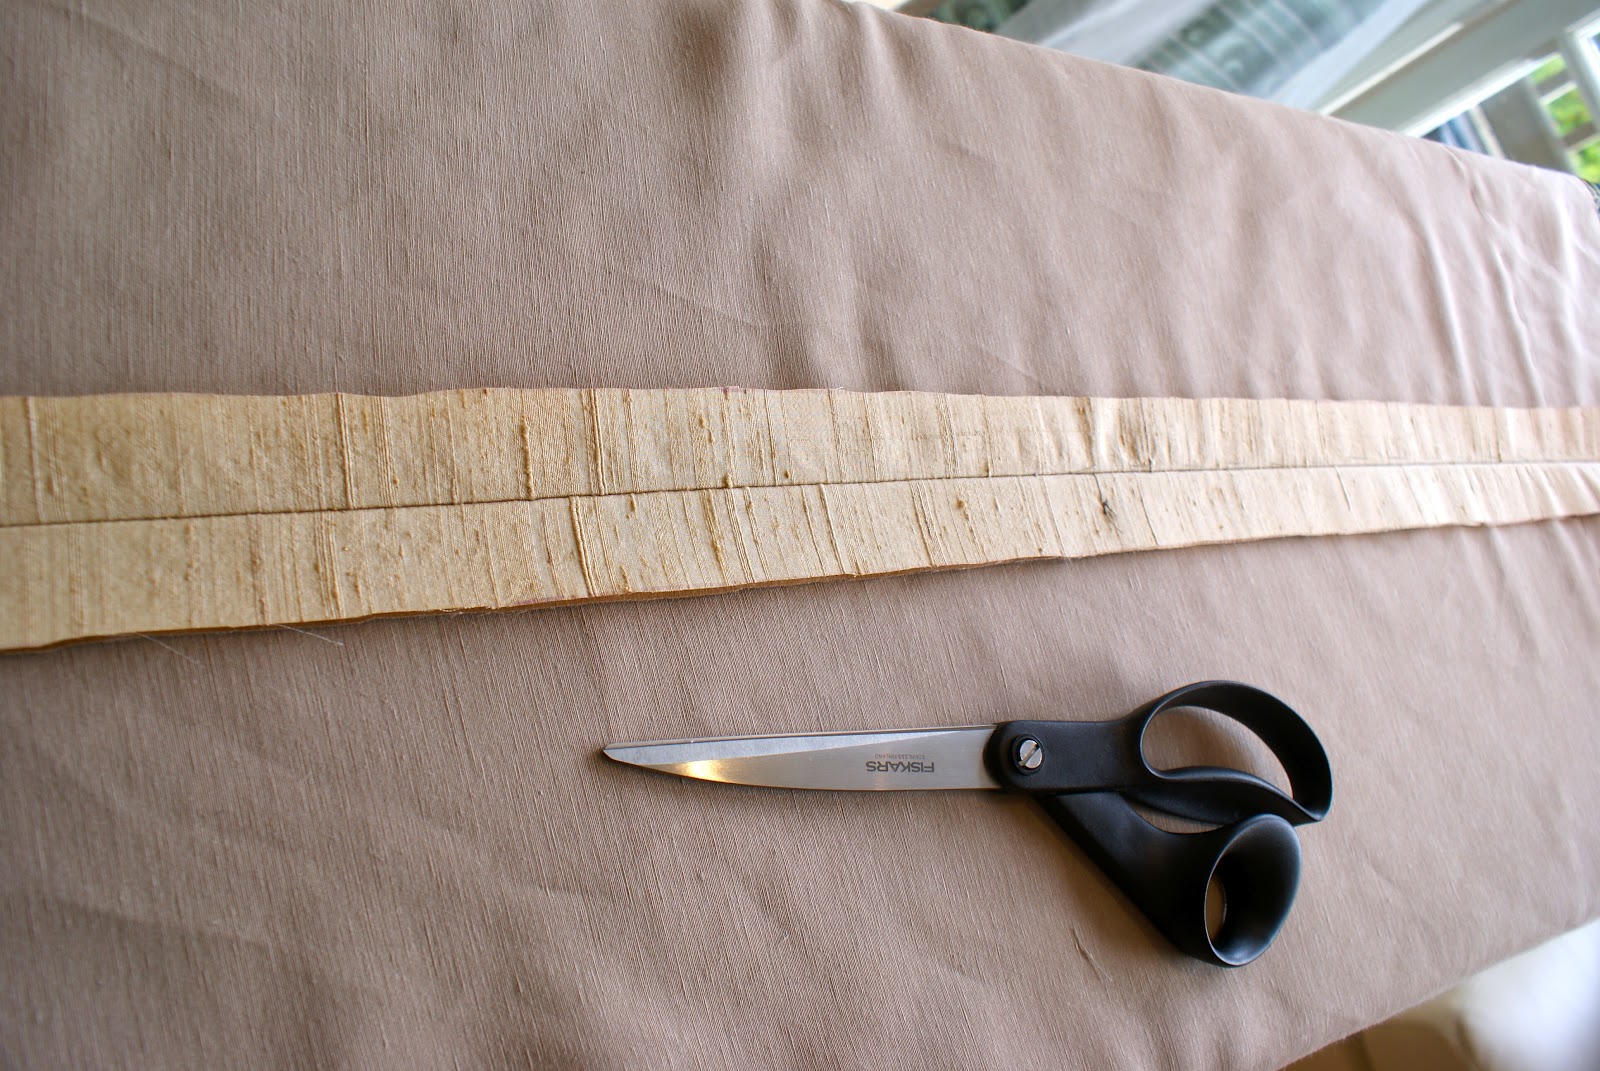
After sewing I trimmed and ironed the seams flat. Then oversewed with a decorative stitch that encompassed the raw edges.

The skirt pinned to my dressmaker - It needs a yoke, hoops and netting! More to come.


Wednesday 23 May 2012

Layers, and How I sew a straight seam

I've now cut and thread traced all of the skirt panels - I can't stop taking photographs! Heres a few using different camera settings. I know these fabrics will look amazing in wedding photos :)


I thought I'd show how I've sewn the front and back seams (I'm going to leave at least two seams undone so that I can fit the skirt properly later - either that or I will sew all of them and put darts in to fit, I haven't decided yet)

 So first I line up the thread tracings and pin at both ends. I then line up the thread tracing along the seam as smoothly as I can.

At one end, I wrap thread around the pin

I unwind the thread to the other end and pin to the carpet. Keeping tension along this line makes it my 'plumb' line like a thread ruler.

I place pins along this line at regular short intervals then sew on my machine from pin to pin (take out the pins before sewing over). You have to concentrate on ignoring the thread tracing, as it is slightly wobbly.
I've been sewing these final seams on a 2.5mm straight stitch (Tension 5 on my Expression 3.0 machine) and have been extending the seam by around 1.5 inches at each end.

The result is a nice straight seam. I then take out the thread tracing and finish as per the post Attempting couture seams in my wedding dress.

Saturday 5 May 2012

Lace Candle Holders

Video tutorial on youTube - I've made 10 so far, plan to make 30-40 for the wedding. Very easy to do!

Wednesday 2 May 2012

Start of a long handsewing adventure

I carefully cut out all the lace motifs (this took a good few evenings work) and replaced them on all the layers and pinned.

Starting the handsewing... 

Each motif is handsewn round the edge to individual layers

I love how when you hold the layer up to the light the stitching sort of 'defines' the edge a little! I've only done the top layer so far, it took an entire day at the weekend, but this is still less time than I thought it would take so I'm pretty happy!

Tuesday 1 May 2012

Attempting couture seams in my wedding dress!

I pinned, re-straighetened and sewed the centre back seam, stopping at a point where the corset back will end. I checked and re-checked the tension on my machine with scraps from the interlining and main fabric layered together.

As you can see when I made sure the back seam was perfectly straight it revealed that my thread tracing wasn't exactly perfect! As these are the skirt seams I'd rather them be straight than follow the pattern pieces which might have stetched.

In the couture sewing and wedding dress sewing books/info I've been reading I've seen that couture seams are around one inch so I drew a line with my disappearing ink pen.

And then cut along this line ready for hemming!

Heres the seam all hemmed, its been hemmed to the interlining fabric only, so doesn't show on the right side. At the top, where the split is still open for the corset back I've whip stitched the seam edges to stop them fraying.

Close up: