Wednesday, 2 May 2012

Start of a long handsewing adventure

I carefully cut out all the lace motifs (this took a good few evenings work) and replaced them on all the layers and pinned.

Starting the handsewing... 

Each motif is handsewn round the edge to individual layers

I love how when you hold the layer up to the light the stitching sort of 'defines' the edge a little! I've only done the top layer so far, it took an entire day at the weekend, but this is still less time than I thought it would take so I'm pretty happy!

Tuesday, 1 May 2012

Attempting couture seams in my wedding dress!

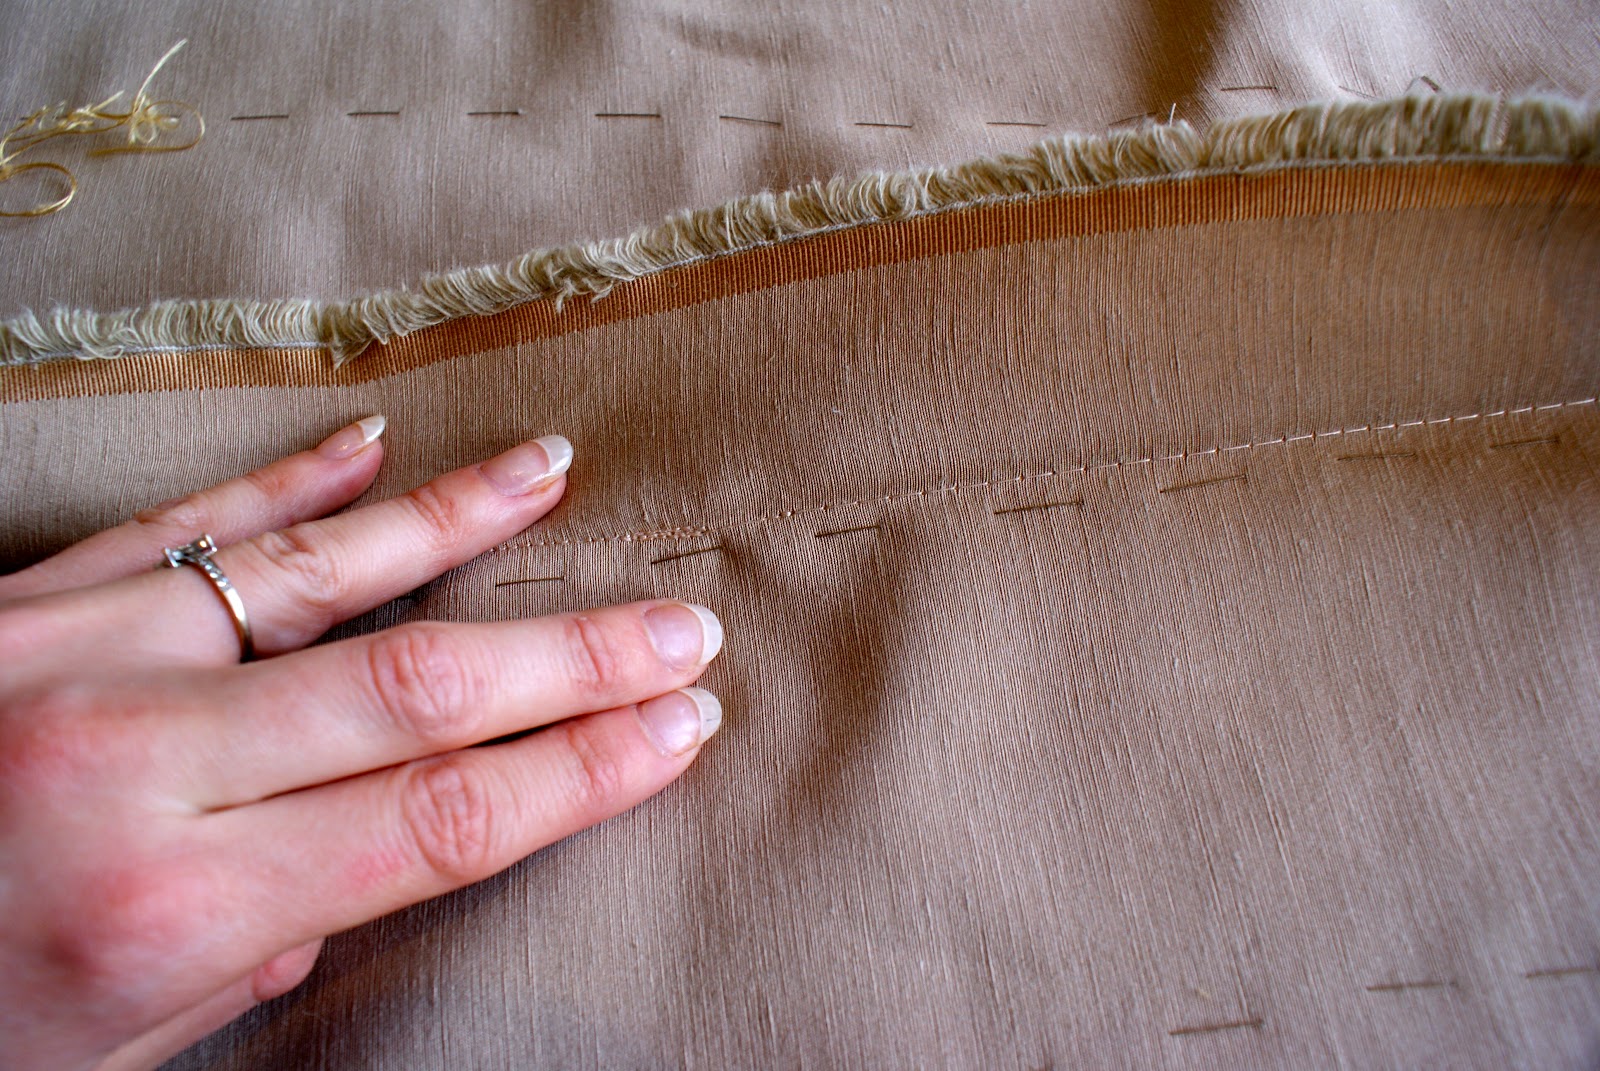
I pinned, re-straighetened and sewed the centre back seam, stopping at a point where the corset back will end. I checked and re-checked the tension on my machine with scraps from the interlining and main fabric layered together.

As you can see when I made sure the back seam was perfectly straight it revealed that my thread tracing wasn't exactly perfect! As these are the skirt seams I'd rather them be straight than follow the pattern pieces which might have stetched.

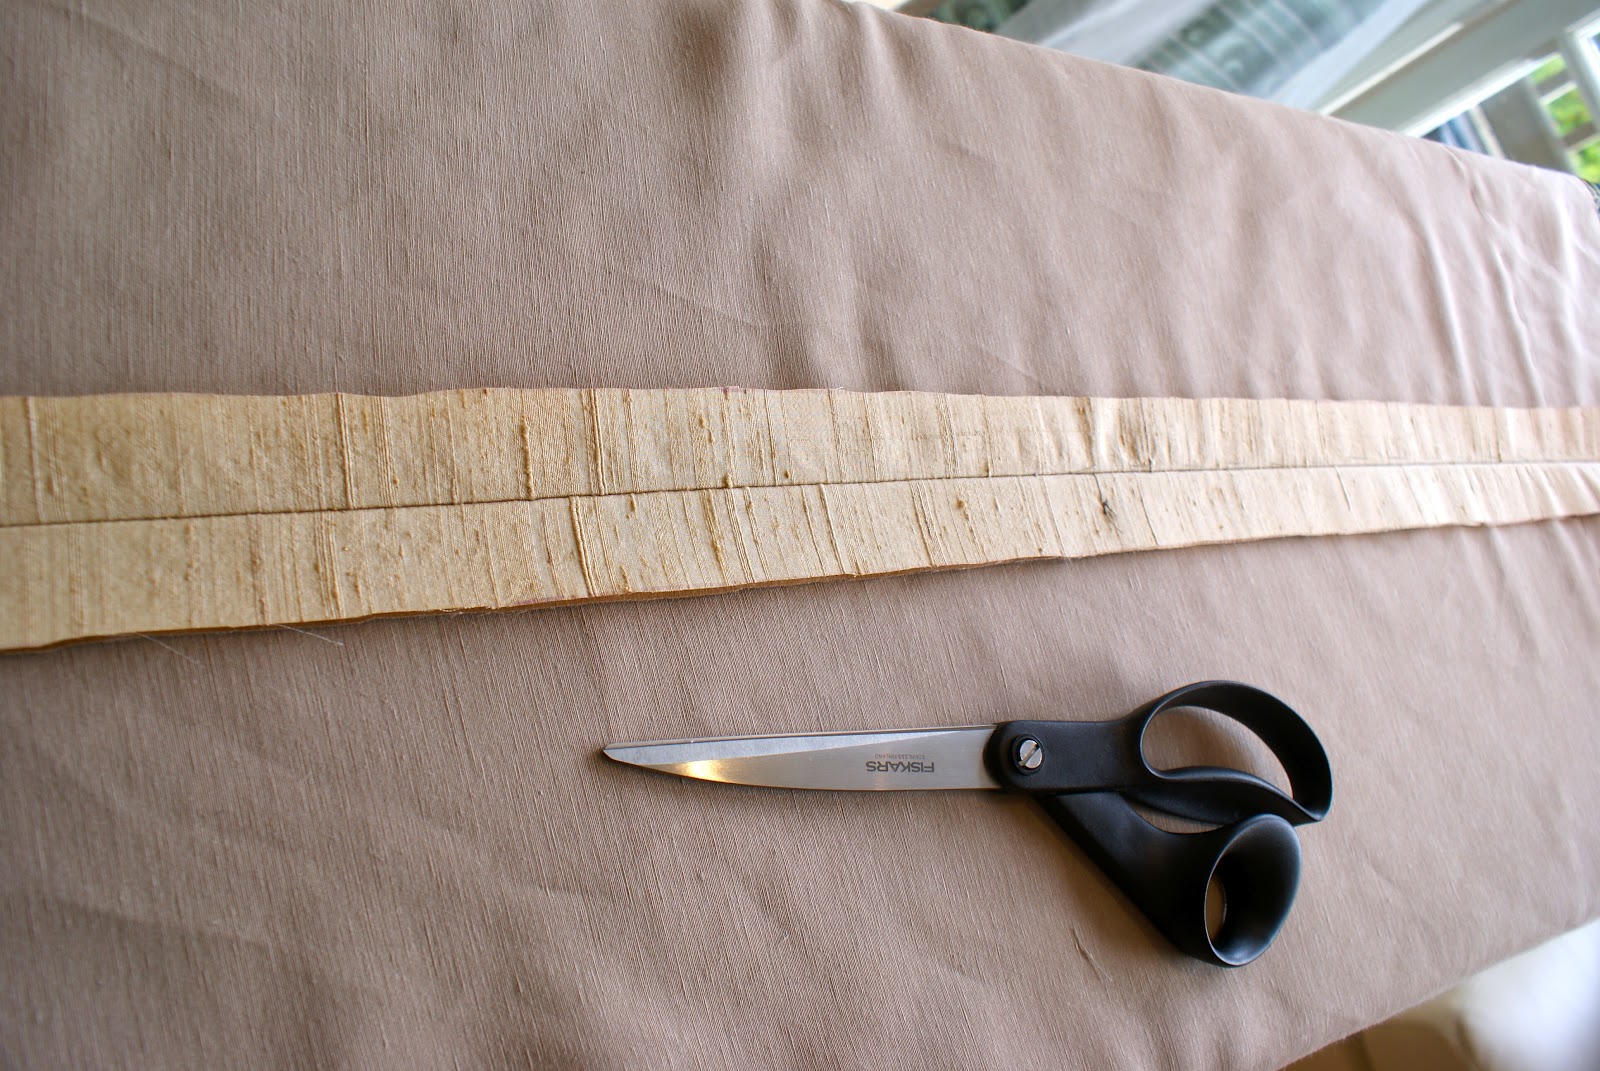
In the couture sewing and wedding dress sewing books/info I've been reading I've seen that couture seams are around one inch so I drew a line with my disappearing ink pen.

And then cut along this line ready for hemming!

Heres the seam all hemmed, its been hemmed to the interlining fabric only, so doesn't show on the right side. At the top, where the split is still open for the corset back I've whip stitched the seam edges to stop them fraying.

Close up:

Sunday, 29 April 2012

Lace Placement

Here is the back section with 2 layers of organza (It dulls down the golden colour to more of a cream). I experimented a lot with roughly cut out lace motifs and have pinned them in the final placement.

The edges will be trimmed with the scallop edge of my lace, and the motifs will be sewn to all three layers which creates a bit of depth.

Heres a bit of a 'look' picture - the corseted bodice will have more densely packed lace and I'll be wearing this fur stole on the day. Sorry for the terrible light but I end up working on this in the evenings after work!

Saturday, 28 April 2012

Cutting into the REAL fabric!!

My dress design has changed somewhat since the last post, but all will be revealed over the next few days!

I ironed my main fabric (ahimsa silk) and my interlinng fabric (hemp silk) and laid them on the floor with the skirt panel pieces (back only so far), making sure the grain was correct - easy on these fabrics because the weave is so pronounced!

I trimmed the excess fabric, pinned and thread traced the pieces so that I could work with a huge seam allowance to allow for alterations later. Thread tracing is clearly something that never happens with ready-to-wear, but it didn't take too long and I know that the interlining is securely in place and I can see the 'pattern' on both sides.

Up close view of the thread tracing (don't forget the pattern markings)!

Here are the back two panels ready for some new layers...

Sunday, 8 April 2012

Video in the practice dress!

Appalling drunken behaviour at the wedding where I wore my practice dress... but it does show the dress well, and shows that the corset still does its job when I've stopped thinking about sucking my tummy in long ago!!!

The words I say are "Grrrrrr!....   Take a picture!"

Friday, 6 April 2012

The practice dress revealed...

I finished the practice dress in good time. The practice dress allowed me to judge the fit, practice the laced back, make sure the corsetry works and to practice the lace overlayer. Here are a few pics, sorry they are few and oddly cropped but I was at a wedding and don't want to show pics of other people for privacy reasons!


I'm really happy overall, I think it will work well with the longer skirt and in my wedding dress fabrics. I'm going to revisit the corset pattern a little as I think it is too tight at the bust edges!

Thursday, 8 March 2012

Finishing Up

Edging the dress with black ribbon and catching the underlining on the underside.

Reinforcing the bottom of the back seam.

Making the string for the lace up back

No photos for the modesty panel I'm afraid but I positioned it whist wearing the dress (with help from the fiancé) and tacked it in securely with black thread where it would be hidden by the lace pattern.

Voila!