Wednesday, 18 July 2012

Centrepieces

I realised I never posted about the centrepieces!

The recipe (makes one centrepiece):

Ingredients:


1 50cm glass vase
Approx 5 handfuls of river stones
2-3 branches
Strong Wire (and pliers to cut and shape)
14 Frosted tealight holders (replace 2-3 with lace tealight holders if required)
Electronic tea lights
1m Chandelier crystals, separated
12-13 foam roses in different sizes, some with leaves

Method:


1. Wrap roses around each other in a circle shape sized to fit around the base of the vase.

2. Place the ring of roses around the vase.

3. Place the river stones and branches into the vase.

4. Wrap wire around 4 tealight holders and add a loop as a 'bucket' handle.

5. Wrap wire around four parts of branches into a hook shape.

6. Place electric tealights into all the candle holders.

7. Hang the wire wrapped tealight holders on the branches and arrange the rest around the base of the tree.

8. Hang the separated chandelier crystals on the branches in random patterns.


Starting the Fur Shrugs for the Bridesmaids

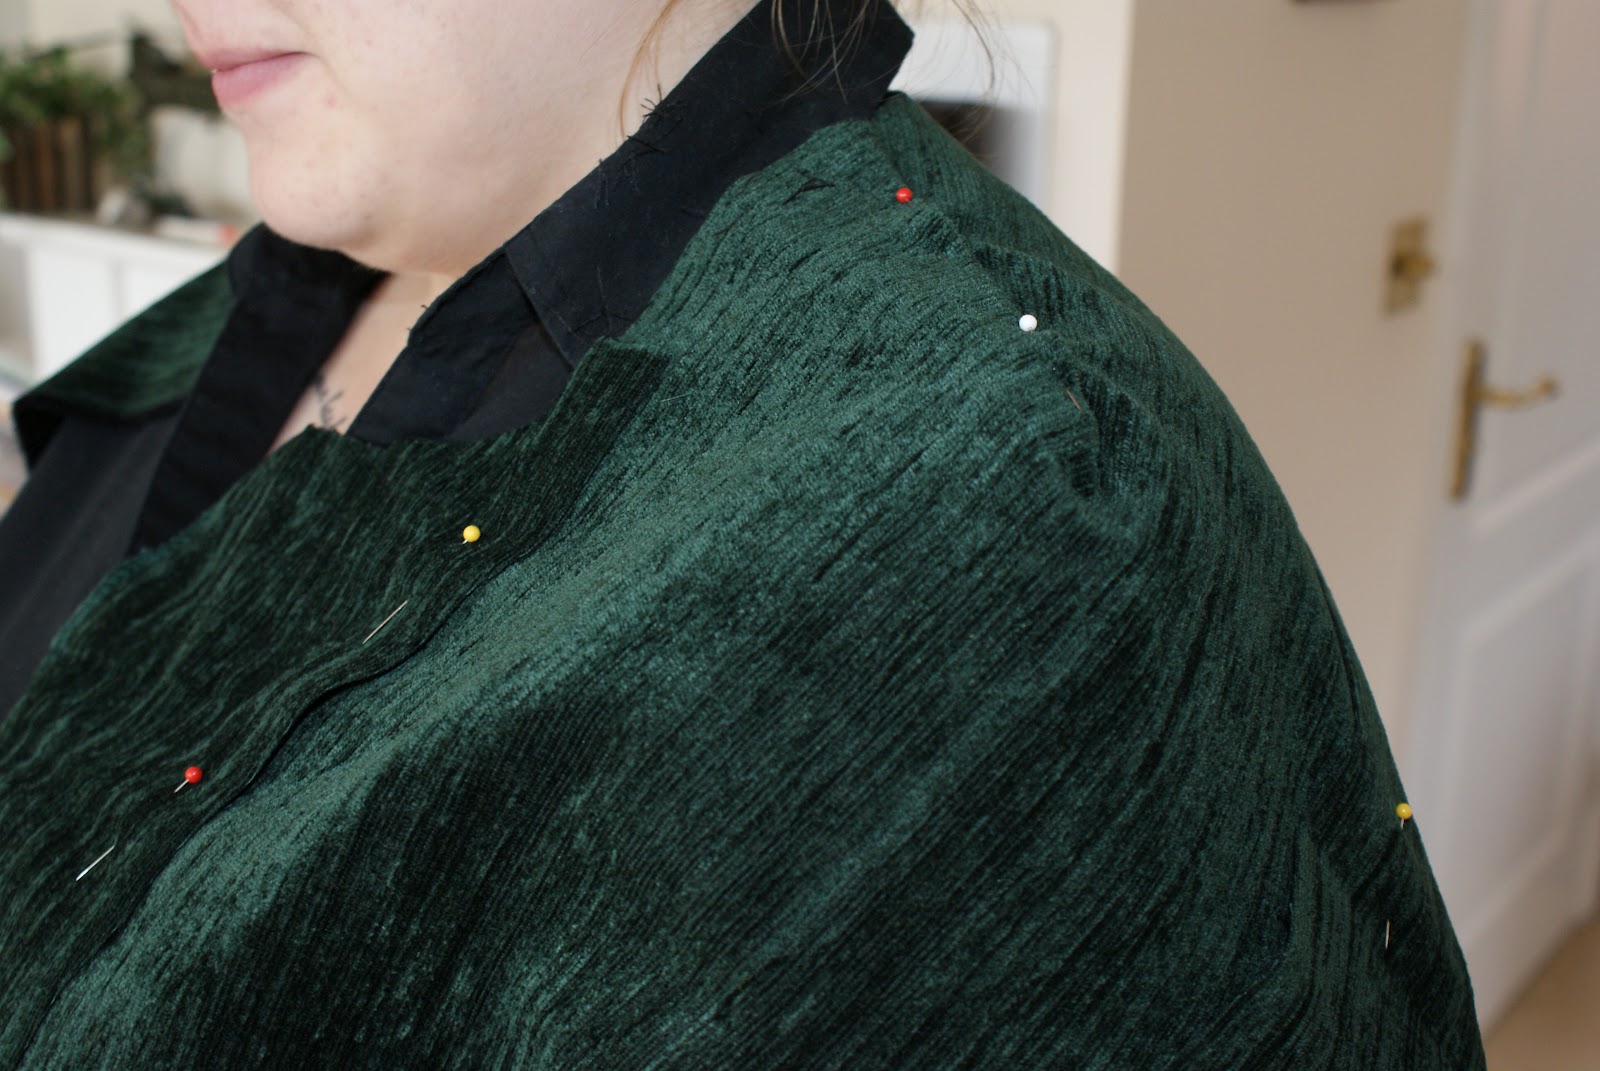
With the help of my chief bridesmaid I used thick scrap fabric to create a shrug pattern. Its quite simple with just two darts as shoulder seams.

It will fasten at the front with a ribbon or a button.

I drafted just one side - its loose so two sided fittings really are not necessary!


I then transferred and mirrored the pattern onto newspaper

And started to cut the fur! I've cut it to about 1.5cm seam allowance and because the fur is quite short I didn't cut it properly using a furriers knife or tiny snips with the scissors - I just went ahead and cut through the whole thing so ended up with a lot of fur on the carpet. Still, I think cutting the lot then cleaning was quicker than if I'd been snipping at a snails pace.


The fur and lining fabric is all from a Queen sized blanket my nana spotted at a charity shop. Beautiful fur, amazing price, upcycling and donating to charity. I believe from the feel of it the fur is rabbit. Its clearly quite old and I have no qualms about using fur - especially if it is from an animal that is culled for biodiversity purposes by rangers worldwide. I have one bridesmaid who does not want to wear fur so she and the flower girl will have navy blue fleece wraps made from some fabric I have in my stash.

Here are the cut fur pieces ready to sew up another day. 

Thursday, 21 June 2012

Hiding the dress away for a while

A small pic to show some progress. I've sewn almost all the lace motifs onto the bottom layer and rethought my skirt design slightly. 
On the bottom layer - small 'spikes' of motifs will run up each seam and the centre back seam will have a lot more lace 'cascading down' the full length of the skirt and train.
For the two voile layers - the only lace will be at the centre back and some along the very bottom. The motifs will be scattered around the layers to give a little more depth.

I've done all the seams apart from two (leaving open for better fitting) and all the 'spikes' of lace motifs on the seams bar 2, plus the two seams that aren't yet sewn. The dress now has to go away as my fiancé has returned home.

After positioning and laying out all the layers nicely I've positioned a pink fabric at the bottom. I've told my fiancé that my dress is a pale pink colour which would really not suit my skin tone. He believes me so I'm continuing the pretence. Theres obviously nothing wrong with pink wedding dresses but it is not 'us'!

Heres the dress with the big parachute like cover so he can't see anything (apart from a tiny bit of pink poking out the bottom)!

Sunday, 3 June 2012

Underskirt Part 3

For attaching the hoops I made four 'sleeves' for them - here they are before being turned inside out.

...And after flipping and ironing. NB My jubilee nails!

I threaded the hoops through the sleeves and rejoined the circles with the plastic sleeves that were used with the original underskirt.

I pinned and sewed my hoops in the wrong place and had to reposition them. The lilac shows where I repositioned them to. You should have the skirt wrong way out before positioning and sewing. Where you have the hoops and at what angle will dictate the shape of the dress. I wanted mine reasonably Teardrop A-Line shaped but with the train trailing further out. If you want to be more A-Line without a train position the hoops horizontally. For Princess you position the smaller loop higher up! After positioning its worth flipping the skirt right side out to see where the hoop holds the fabric away from the body.

Next I ironed all the netting which took ages!

And made sure that the gathers were either still in place or regathered and sewn.

There are three layers of netting - one at the top which is only around the back half of the dress.

And two more further down that go all the way around. They are more gathered at the back for volume where you want it. 

I ended up repositioning my bottom two netting layers further down and in more of a 'V' so that the bottom layer is almost horizontal and laying on the floor - I'm hoping this will help the train stay out and looking good.


I found sewing the netting onto the skirt was easiest by hand - the stitches aren't exactly tiny and neat but I don't think it'll look any tidier by machine! I'm considering sewing lace edging to the bottom layer of net so that any bits that peek out from underneath the dress will still look nice!

Saturday, 2 June 2012

Underskirt Part 2

Heres where we left off:

Next I made a yoke pattern straight from the dressmaker.

 Here it is after cutting and sewing together two layers. The top curve needed to be notched.

After flipping right side out, ironing flat and pinning to the dressmaker.

Lots of fiddling later, the yoke was sufficiently pinned to the skirt and sewn together.

Here I've added two ribbons to tie the skirt closed. I may add more ribbons later to close the slight 'gape'. Next up will be hoops and netting!

Thursday, 31 May 2012

Underskirt Part 1

I ordered a cheap underskirt from ebay and regretted it - the main fabric was a horrendous crinkly polyester that could have been used as umbrella fabric! So I unpicked all the netting and took out the hoops. Next I took about 4 metres of lining fabric and pinned one edge around the footprint of the dress. I then took the fabric up and pinned seams all around.

I trimmed and pinned. The fabric is very smooth and silky so some of the pins kept falling out. If this wasn't underwear I think it would be worth tacking these seams together. Time consuming but it would be worth it.

After sewing I trimmed and ironed the seams flat. Then oversewed with a decorative stitch that encompassed the raw edges.

The skirt pinned to my dressmaker - It needs a yoke, hoops and netting! More to come.


Wednesday, 23 May 2012

Layers, and How I sew a straight seam

I've now cut and thread traced all of the skirt panels - I can't stop taking photographs! Heres a few using different camera settings. I know these fabrics will look amazing in wedding photos :)


I thought I'd show how I've sewn the front and back seams (I'm going to leave at least two seams undone so that I can fit the skirt properly later - either that or I will sew all of them and put darts in to fit, I haven't decided yet)

 So first I line up the thread tracings and pin at both ends. I then line up the thread tracing along the seam as smoothly as I can.

At one end, I wrap thread around the pin

I unwind the thread to the other end and pin to the carpet. Keeping tension along this line makes it my 'plumb' line like a thread ruler.

I place pins along this line at regular short intervals then sew on my machine from pin to pin (take out the pins before sewing over). You have to concentrate on ignoring the thread tracing, as it is slightly wobbly.
I've been sewing these final seams on a 2.5mm straight stitch (Tension 5 on my Expression 3.0 machine) and have been extending the seam by around 1.5 inches at each end.

The result is a nice straight seam. I then take out the thread tracing and finish as per the post Attempting couture seams in my wedding dress.