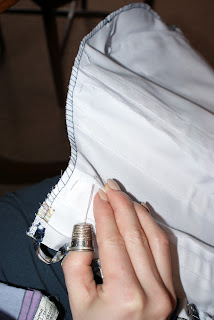
Pinning the rouleau loops to the combined net layer, outer layer and corset layer (I'll be hand sewing in the lining)
I top stitched around the whole neckline and down the back seams, securing the rouleau loops.
I then got some practice in with whipstitching the raw edges. I have an overlocker but know that in couture sewing this is not the done thing! A hand finished raw edge lies flatter and therefore looks better. I borrowed and later bought a thimble for this.
This is my finger before I resorted to using a thimble! I've never really used a thimble before and it took some getting used to. Its now a good friend.
I trimmed the bottom of my corset layer with this gold. It get covered with the underlayer anyway but I like these little details that you can put into your own home sewing.


